Intermediate Knitting Techniques
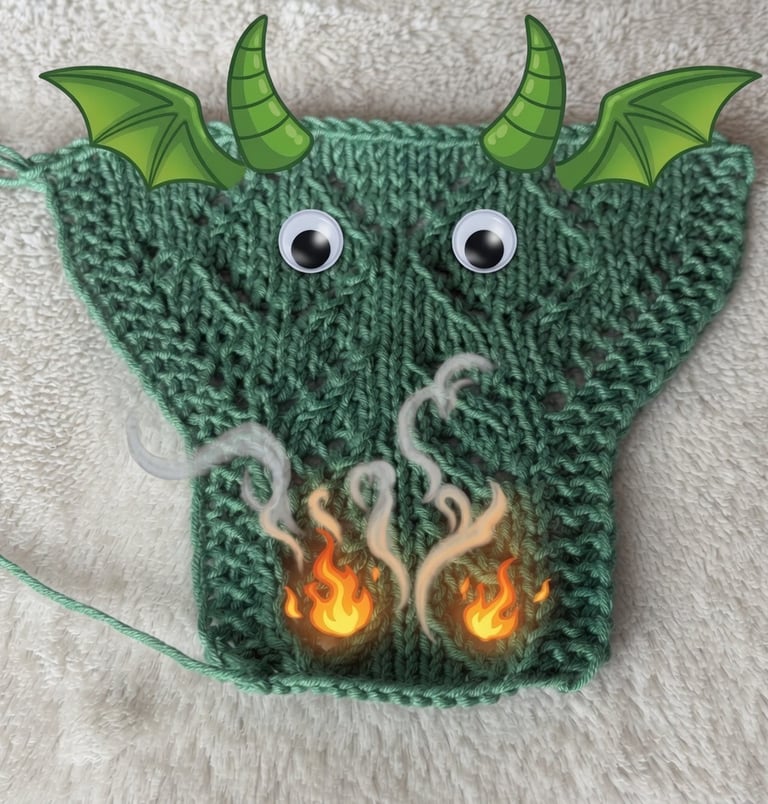
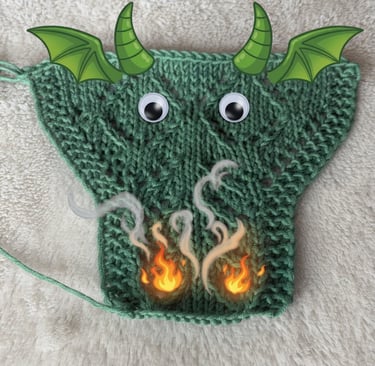
Meet Rowan
Meet Rowan, our emotional support dragon. She starts a bit wild and fiery, but every stitch you practice helps her grow into a wise, protective friend.
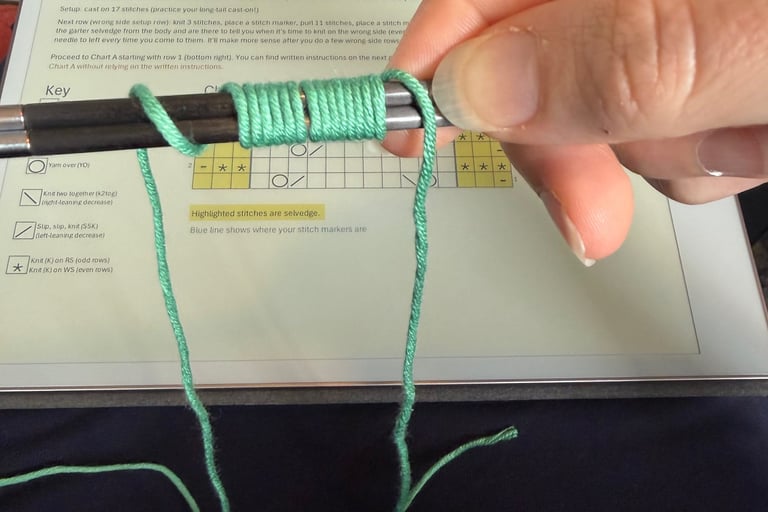
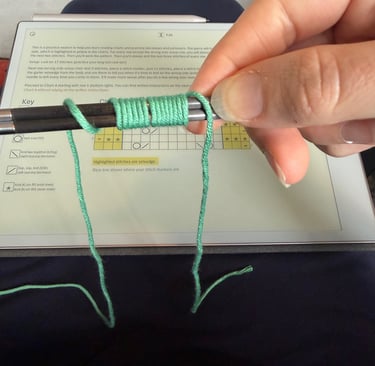
This is a practice swatch to help you learn reading charts and practice decreases and yarnovers. The piece will have a three-stitch garter selvedge on each side, which is highlighted in yellow in the charts. For every row except the wrong side setup row, you will always slip the first stitch as if to purl and then knit the next two stitches. Then you'll work the pattern. Then you'll always knit the last three stitches of every row.
Casting On
Setup: cast on 17 stitches (practice your long-tail cast-on!). To know how long of a tail you need, wrap the yarn around your needles 17 times. Put your slip knot after the 17th wrap.
Setup row
Next row (wrong side setup row): knit 3 stitches, place a stitch marker, purl 11 stitches, place a stitch marker, knit 3 stitches.
The stitch markers set apart the garter selvedge from the body and are there to tell you when it's time to knit on the wrong side (even) rows. You can just slip them from your right needle to left every time you come to them. It'll make more sense after you do a few wrong-side rows.
Proceed to Chart A starting with row 1.
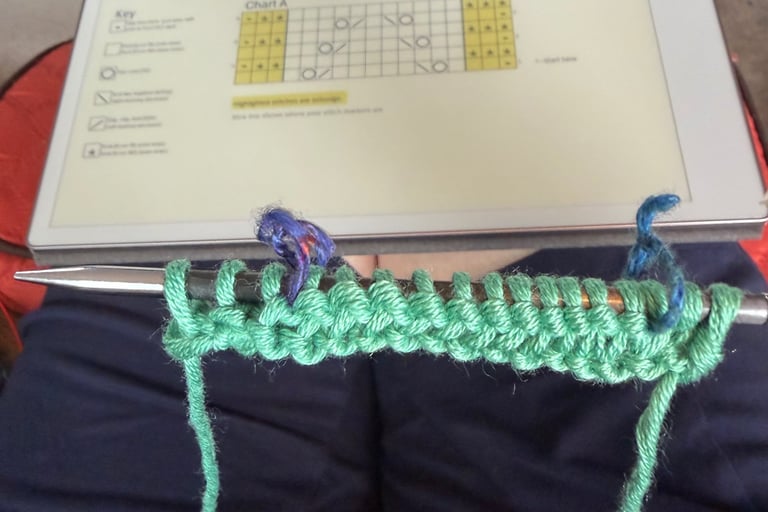
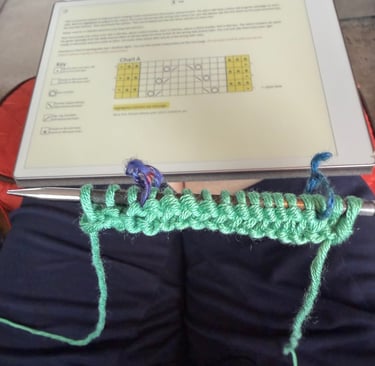
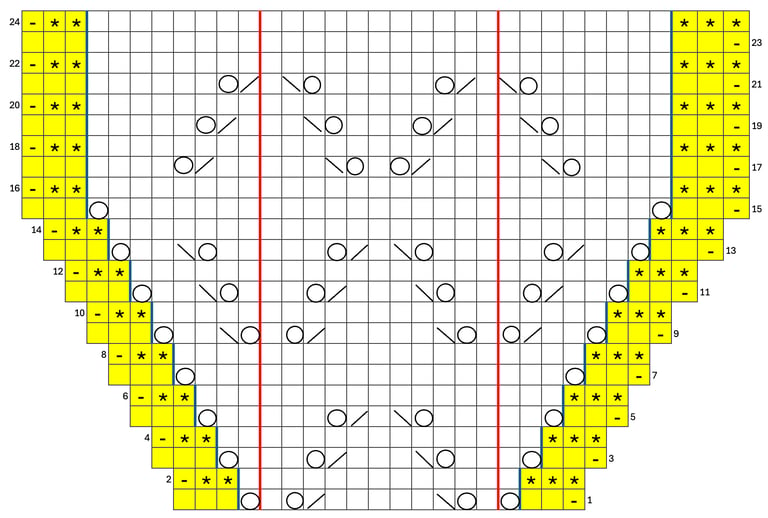
Chart A

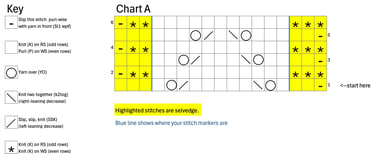
Chart A written instructions
Row 1. Slip the first stitch with yarn in front as if to purl (sl1 wyif), knit 2 stitches ("k2") from the selvedge, slip the stitch marker from left needle to right ("slip marker"), k1, yarnover ("YO"), SSK, k5, k2tog, YO, k1, slip marker ("SM"), k3 (selvedge stitches). You should have 17 stitches on your right needle after working this row, which is noted as (17 sts).
Row 2: Sl1 wyif, k2, SM, purl to second marker, k3 (selvedge stitches). As you purl between the stitch markers, you might notice that the second and tenth purled stitches are from yarnovers. (17 sts)
Row 3. Sl1 wyif, k2, SM, k2, YO, SSK, k3, k2tog, YO, k2, SM, k3 (17 sts)
Row 4: Sl1 wyif, k2, SM, purl to second marker, SM, k3 (selvedge). Third and ninth purled stitches are from yarnovers. (17 sts)
Row 5. Sl1 wyif, k2, SM, k3, YO, SSK, k1, k2tog, YO, SM, k3. (17 sts)
Row 6: Sl1 wyif, k2 (selvedge), SM, purl to second marker, SM, k3 (selvedge). Fourth and eighth purled stitches between the stitch markers are from yarnovers. (17 sts)


Right leaning decrease - k2tog
Left leaning decrease - SSK
To knit Rowan, knit Chart A three times. Be sure to work row 6 before going to Chart B.
Chart B Tips and Tricks
Before you start on Chart B, read through these Tips and Tricks. You might want to refer back to them as you go. These notes will focus how to use your stitch markers and where your yarnovers should fall on the wrong side.
Row 1. Get more stitch markers handy! I recommend using a different color from the ones you've already used for your selvedge. The blue lines on the chart show where the old stitch markers are and the red are the new ones: Sl1 wyif, k2, slip old marker, YO, place new stitch marker, continue in pattern until the next stitch marker, place new stitch marker, YO, slip old stitch marker, knit 3 selvedge stitches. (19 sts)
Row 2: Notice the yarn over between your original and new stitch markers. (19 sts)
Row 3. Sl1 wyif, YO, k1, continue in pattern between red lines until the next stitch marker, k1, YO, k3. (21 sts)
Row 4: Look at the chart for row 3. Starting from the red line, count from left to right how many stitches until you reach a YO. Notice the first YO lands at the third stitch between the red lines and the second YO is at the ninth. As you start to purl between your new stitch markers, you should notice that the third and ninth stitches are YOs. (21 sts)
If you're having trouble getting the right sttich count, try counting where the YOs should be on every WS row. This can help you figure out where you may have made a mistake. You can try to figure out how to fix it or ask for help (from a friend, at Sitch Night, at Knitting Support, or pretty much any time the studio is open except Saturday afternoons, when our staff member is more of a crochet expert and might not be able to help).
Row 7: Watch out! This row is deceptively easy. Don't forget the yarnovers!
Row 17: No more yarnovers by selvedges. Piece will stay the same width until the end from here.
After Row 24: Bind off. Maybe add some googly eyes to your emotional support dragon!
Chart B

Binding Off
Once you've finished Chart B, it's time to bind off!
Enjoy Rowan. Be proud...you've traveled the fiery journey from beginner to intermediate knitter!

Binding off
© 2025. All rights reserved.
1900 E Howard Ln Suite A7 | Pflugerville, Texas 78660 | rachel@yarningfiberarts.com | (512) 766-9298
Warning: Rachel is terrible about answering calls and listening to voicemails.
Hours
Closed Mondays & Tuesdays
Wednesdays & Thursdays 3 - 7
Fridays noon - 7
Saturdays 10 - 6
Sundays noon - 5